Document Delivery
Create and Send Documents to the Client
Table of Contents
Key ConceptThe Document Delivery system has two primary functions. The first is to make it quick and easy to add new documents for the client, and the second is to track what has been sent. This includes Treatment Plans, ROIs, correspondence, electronic forms, subject information, and more. To understand more about how and why a document is sent, click here. 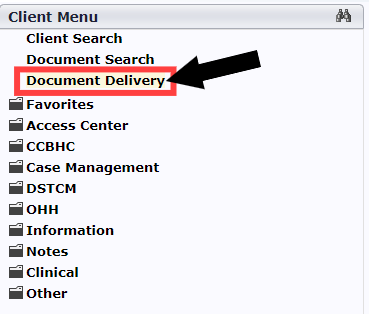 |
|
🎥View a demonstration of adding a document using the Document Delivery system. |
Adding DocumentsThe first step in adding a document is to verify the document hasn't already been delivered. The Document Search bar uses an intuitive Title Search system that does a ranked search in Document Templates to find the best match while also searching the client's history of documents for that same term. This results in two useful functions happening at once, allowing staff to see if the client has received the document already and, if not, add it from the template list (see below). The Document Search includes two other filters for program and location. The default is to use the staff's program and location information from their last Status Change Form. This removes document templates and client documentation that is not a part of the program or location. If a staff person feels like they are not seeing the correct templates or documents, this can be corrected in Document Templates by adding the proper programs and locations to the template.  |
|
🎥Watch below to view examples of how the Document Delivery feature will filter templates for staff in different programs and locations. |
PacketsA packet is a grouping of templates for specific workflows. For instance, imagine when a client joins a program, we want them to receive some informational documents, sign an agreement, and fill out a special consent form. We could use the Title Search to find each one individually or use a Packet to add them all at once. Packets filter the templates using the staff's programs and location as well. This means that the same packet (or workflow) would show different templates if the staff worked for a different program at a different location. Here is an example packet where the program and locations are set to “all”. The packet would not be very useful as it appears there are duplicate documents and unnecessary information. 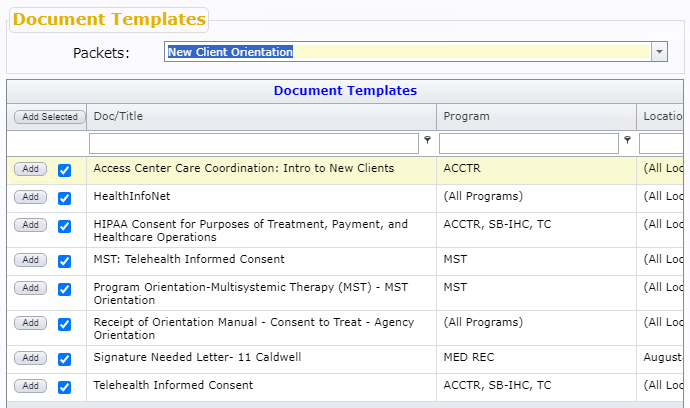 This is the same packet, but now logged in as an Access Center staff person. We can see it filtered out the non-Access Center documents but left the ones meant for everyone. 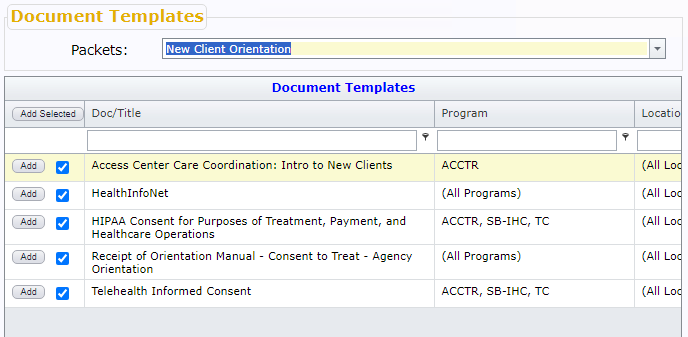 Here is Med Records using the same packet, but from the 11 Caldwell location.  |
|
This demonstrates the power of using packets to organize documentation around workflows. Getting this sort of result requires thinking about each template and what program and location needs access to it. As we see above, the “HealthInfoNet” document is set to all programs and locations, so it appears every time. To change that, we would need to go to that Document Template and change the program or location to the specific programs needed. Then, it would stop appearing for staff not associated with those programs. Why does it use the programs and location of the staff and not a client? Workflows are something staff do, not clients. Someone in MST may not know what to enter for data on a correspondence for Med Clinic, and someone in Waterville would be confused by templates for Augusta. When there are documents that need to be delivered to the client, the person adding them is the best indication of what is needed. Also, the filters for any-or-all programs and locations are always available, so if there is a specific workflow that requires accessing other programs and locations, that is still 100% achievable, just not as simple. |
Pending DocumentsWhen a packet of documents is added, it will populate the Pending Documents list (which is really a list of any document that isn't fully completed). 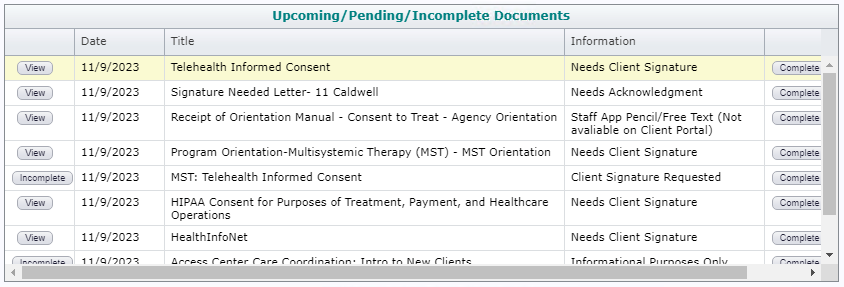
The first thing to look for is Incomplete rows. When an Incomplete button appears, that means the staff needs to complete some aspect of the data entry in that document or that document is meant to be printed. This action is needed immediately, as that document is not visible to the client on the portal or the Staff App. The Information column is designed to help staff know what the client needs to do with the document. It may require a signature, or the client might need to acknowledge receiving it or some other activity that is not completed.
Each pending item has a Complete and Delete button at the end to manage the documentation. For instance, if the client leaves the agency, deleting it from the list might be appropriate. During a session, an informational document is handed to the client, so we no longer need to have them acknowledge it on the Client Portal. The Complete button will instruct the staff on how to finish it manually. My client says they already have the document, but I don't see it on the list. What do I do? Since giving client documentation can happen in many ways, this isn't an uncommon occurrence. In this case, it sounds like someone printed a template but did not click the Complete & Save. Since we want to know that the client has received it, we can use the Complete button to move it out of the pending documents list and into the completed list. In the future, other staff will know this document has been delivered and is completed. I am trying to use a Packet, but it didn't check everything off. Why? If the document template is in the pending documents list or recently used in the History of Delivered Documents, it will automatically uncheck them. If it is correct to duplicate the document, staff can check the box before adding them. |
Document HistoryThe History of Delivered Documents grid shows all of the completed documents with an Information column to help understand what happened with the document. The Document Search, discussed above, affects this grid, too. If the Title Search was ‘Letter’, then the only row to appear below would be the second one ‘Letter to Client’. If the intention was to add a ‘Letter to Client’, staff could easily see that this document has recently been added. If not, the template grid was filtered at the same time, leaving only the ‘Letter to Client’ that best fits the staff's programs and locations. There is an additional Search bar for dates, but it only filters the pending and completed document lists, as templates are not affected by dates. Packet selection does not affect the lists either. 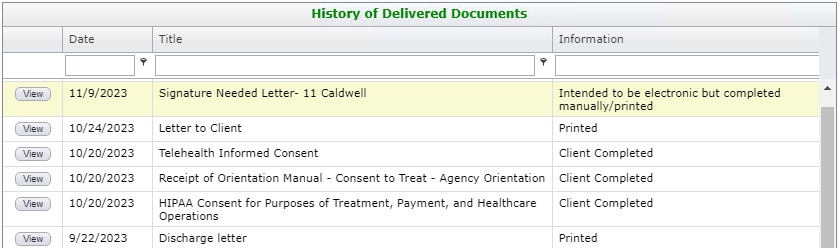
Oops, I added the wrong document. What do I do now? If it is within 15 minutes, a ‘Delete’ button is available by scrolling right in the grid. Otherwise, the delete button will appear depending on the type of document and the security rights of the person accessing it. You may need to work with your supervisor and Medical Records to resolve the issue. I need to renew a Release of Information, but I don't see a template for it. Not all documents delivered to a client come from a document template. Release of Information, Treatment Plan Client Signature, Informed Consent, as well as other documents arrive at Document Delivery by activities in other areas of Neo. ROIs have their own screen in Neo and need to be completed in that area. |
