'Print Selected' From Document Delivery
Discover how to print all the contents from document delivery services, assisting you in efficiently accessing and having physical copies of the documents you need.
|
Documents in the Upcoming/Pending/Incomplete Documents will all automatically be selected, so you'll click the Print Selected button. 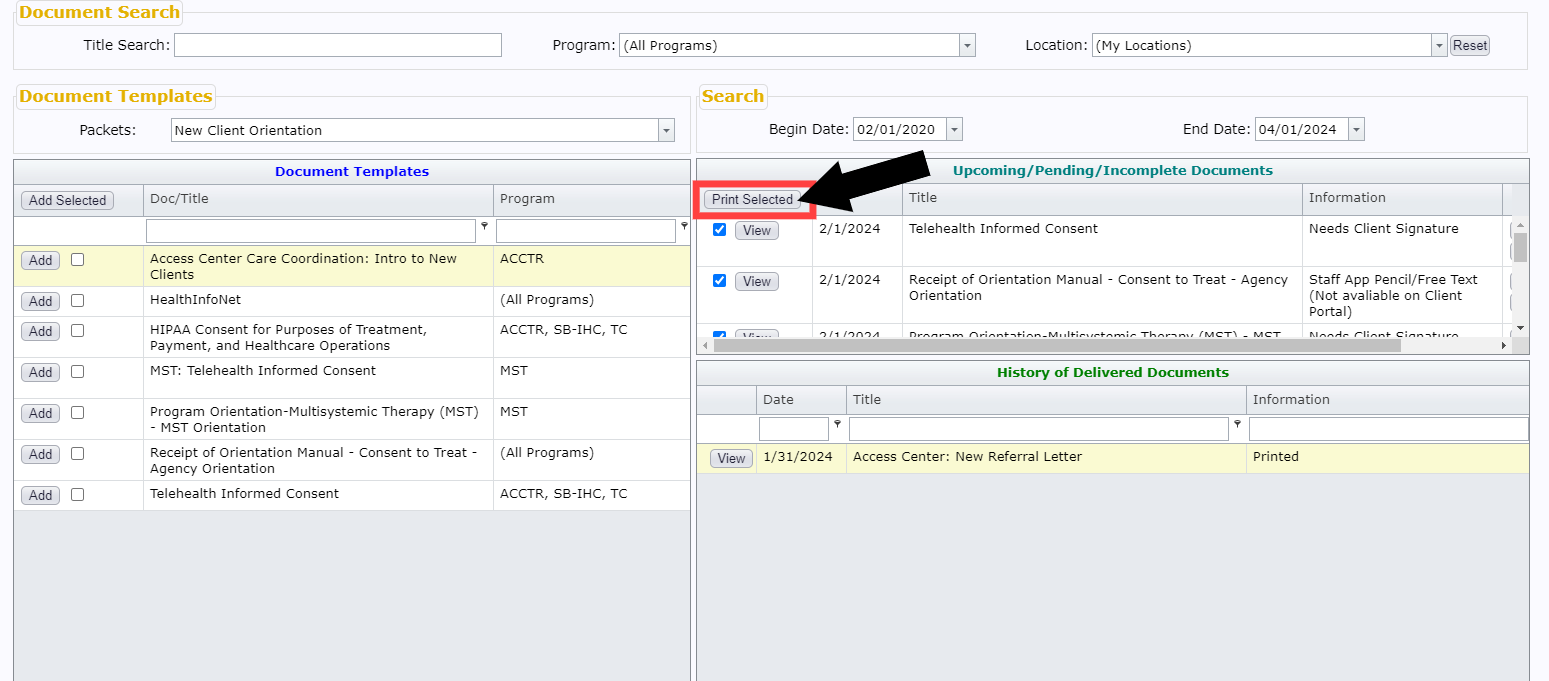 |
|
This confirmation window explains that once you print the documents in this manner, they will be considered completed and will be moved from the Upcoming/Pending/Incomplete Documents area to the History of Delivered Documents area. If that is your goal, select Yes. 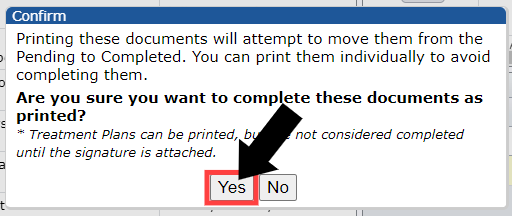 |
|
Every document that can be printed as it is, will load altogether in PDF form. Simply click the print button in the upper right-hand corner of the window. Once you've printed the documents, they will be considered Completed and will appear in the History of Delivered Documents area. If you ever need to print any of those documents again, you can still do so from that area.

Documents that remain in the Upcoming/Pending/Incomplete Documents area did not print and remain incomplete. This is typically because the document has fields that require your input. You'll need to complete these document types individually. |
|
Select Incomplete. 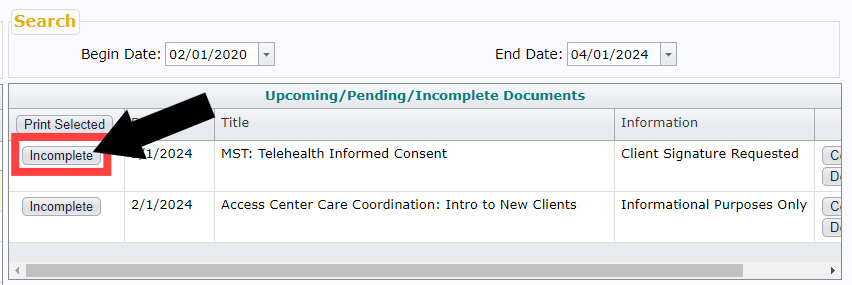 |
|
Enter the appropriate information into the provided fields and then click Complete & Print.  |
|
Print your document using the printer icon in the top right-hand corner.  |
|
Once you've printed your document, you'll want to mark it as complete. Click Complete. 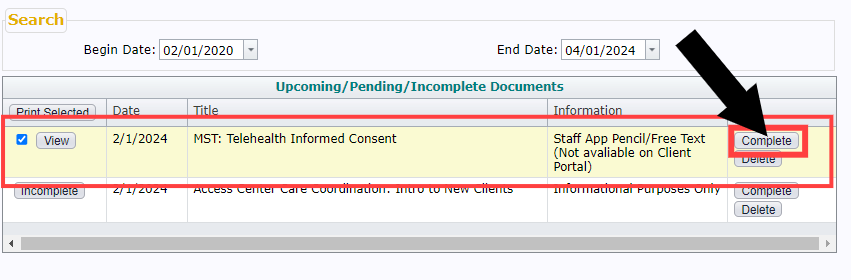 |
|
Click Yes to confirm that you have completed this document and would like it to move from the Upcoming/Pending/Incomplete Documents area to the History of Delivered Documents area. 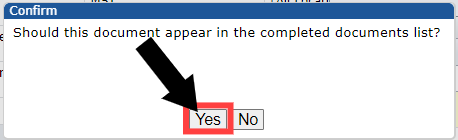 |
|
Your document will now appear in the History of Delivered Documents area. If needed, click the View button to view the document and/or print it again. 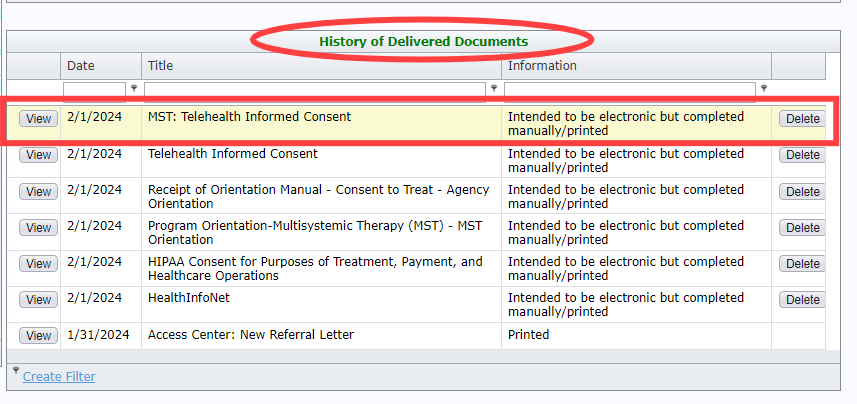 |
