Send Documents to the Portal/Staff App
Electronic Signature of Documents
Table of Contents
Key Concept
Having clients sign documents electronically allows for faster workflows. For instance, if the situation calls for an ROI to discuss a client's treatment with an external entity, sending the ROI to the portal, contacting the client to sign it, and then using that ROI can happen in minutes, versus the days it would take to use the mail.
The option to send a document to the Client Portal is dictated directly by the settings chosen when the document was created.
Either Client Signature Requested or Informational Purposes Only will make it so you have the ability to send the document to the Client Portal or Staff App.
If Printed - Not Electronic is selected, you will not be able to send the document to the Client Portal or Staff App.


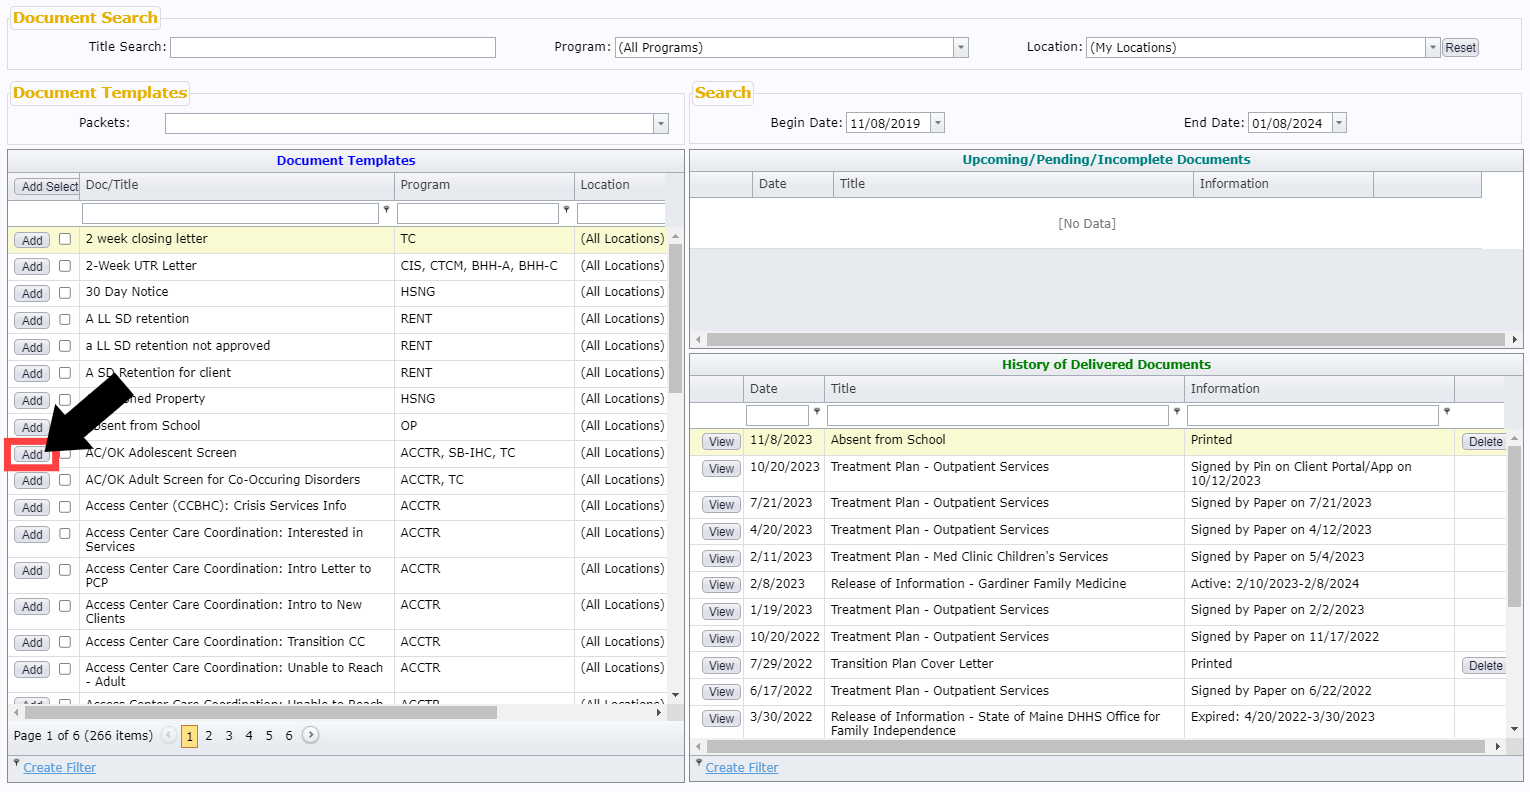
Locate the intended document and click Add.

Client Name, Gender, and Date of Birth will auto-populate.
Once you confirm that this is the correct document you're looking for, click Complete.

Once you click Complete, it'll appear in both the Staff App and the Client Portal | |
Staff App |
Client Portal |
 |

|
After clicking Complete, the document will now appear in the Upcoming/Pending/Incomplete Documents section.
Click View to load your document as a PDF for viewing.
Click Complete if you ended up printing the document and completing it with your client manually.
Click Delete if you created this document in error or it is no longer needed.

Pending Documents
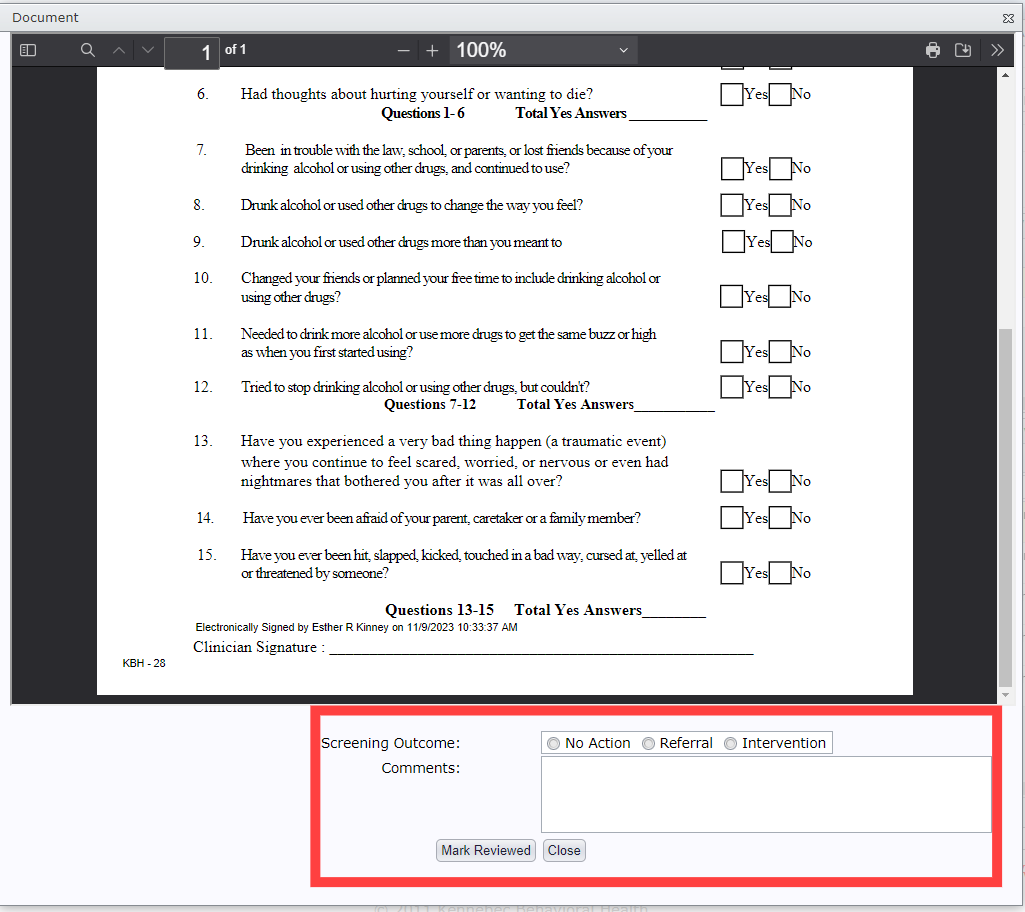
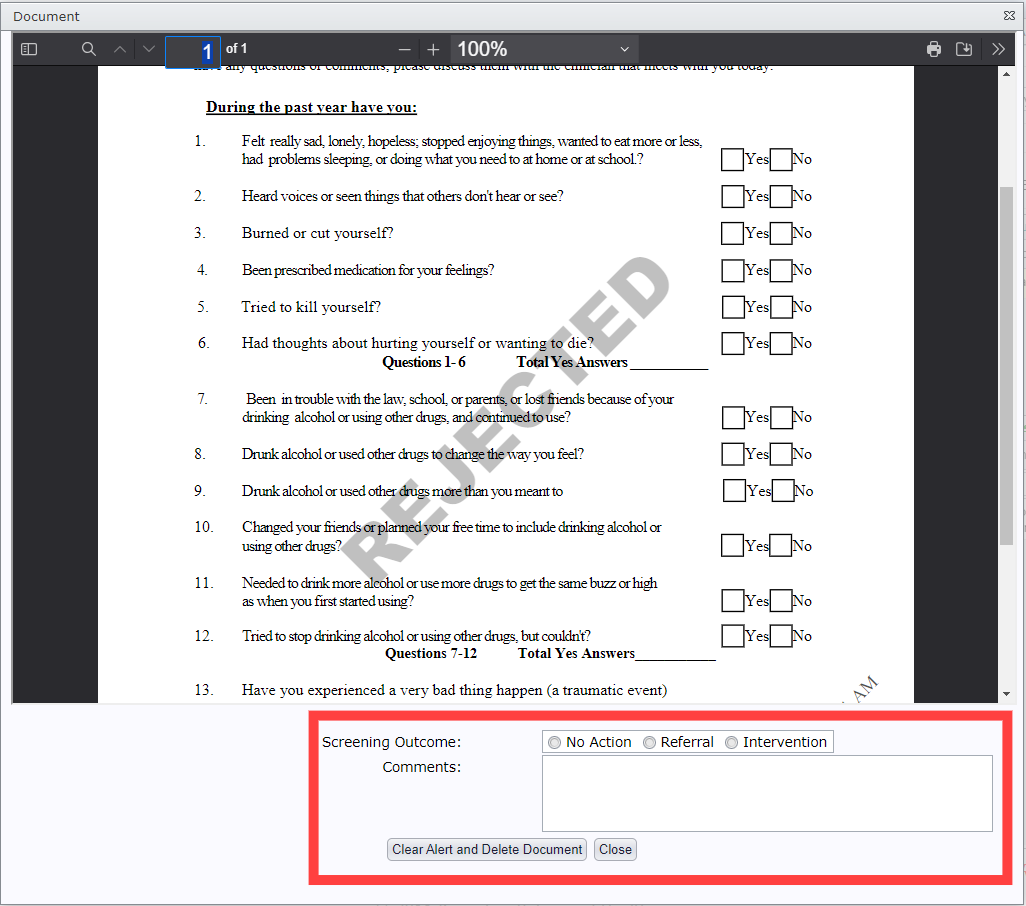
Once the client completes the document, it will still appear in the Upcoming/Pending/Incomplete Documents section but will now have the option to Review.

If Client Signed |
If Client Rejected |
 |
 |
History of Delivered Documents
Once reviewed, the document will appear in the History of Delivered Documents Section.

